
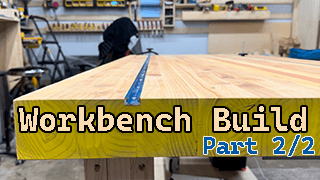
17 | Building a Workbench Using 2x4 Lumber Part 2/2
Stop Wasting Wood
Generate clear cut diagrams instantly with our new Cutlist Optimizer. Plan your cuts to make your next build easier.
A flat table is nice. A table that holds your wood for you is better. In Part 1, I built the bench. In Part 2, I am drilling holes in it. It feels wrong to drill holes in a perfectly good top, but Bench Dog Holes are the secret to work holding.
What is a Bench Dog?
It's a peg. You drop it in a hole. It sticks up. You push your wood against it. Now your wood can't slide backward while you sand or plane it.
What is a Holdfast?
It's a bent iron hook. You drop it in the hole. You whack it with a hammer. It wedges tight and pins the wood down. You whack the back of it to release. It is faster than any screw clamp.
The Process: Drilling Precision
The holes need to be 3/4" diameter (the standard size) and perfectly plumb (vertical). If they are crooked, the accessories won't sit flat.
Step 1: The Grid
I laid out a grid of holes on the front 6 inches of the bench.
- Spacing: 4 inches apart. This allows my vise to reach slightly past the next hole, giving me infinite clamping range.
Step 2: The Guide
I didn't trust my hand drill skills.
- Jig: I took a thick block of hard maple and drilled a perfect hole in it using my Drill Press (which ensures 90 degrees).
- Usage: I clamped this block to the bench at each mark and drilled through it. The block guided the auger bit straight down.
Step 3: Chamfering
I used a router with a chamfer bit to slightly rim the holes.
- Why?: This prevents chips/splinters when dragging boards across the bench and makes it easier to drop the dogs in.
Testing the Holdfasts
I bought a pair of Gramercy Tools Holdfasts (the gold standard). I put a board on the bench.
- Clink: Dropped the holdfast in.
- Whack: Hit it with the mallet. I tried to move the board. It was frozen in place.
- Tap: Hit the back. It popped loose.
Conclusion
This upgrade cost $0 (just drilling holes) and $40 for the holdfasts. It sped up my workflow by 50%. No more twirling clamp handles. Just whack and go.