
Wood Filler vs. Caulk vs. Bondo vs. Epoxy: Which One Survives Wood Movement
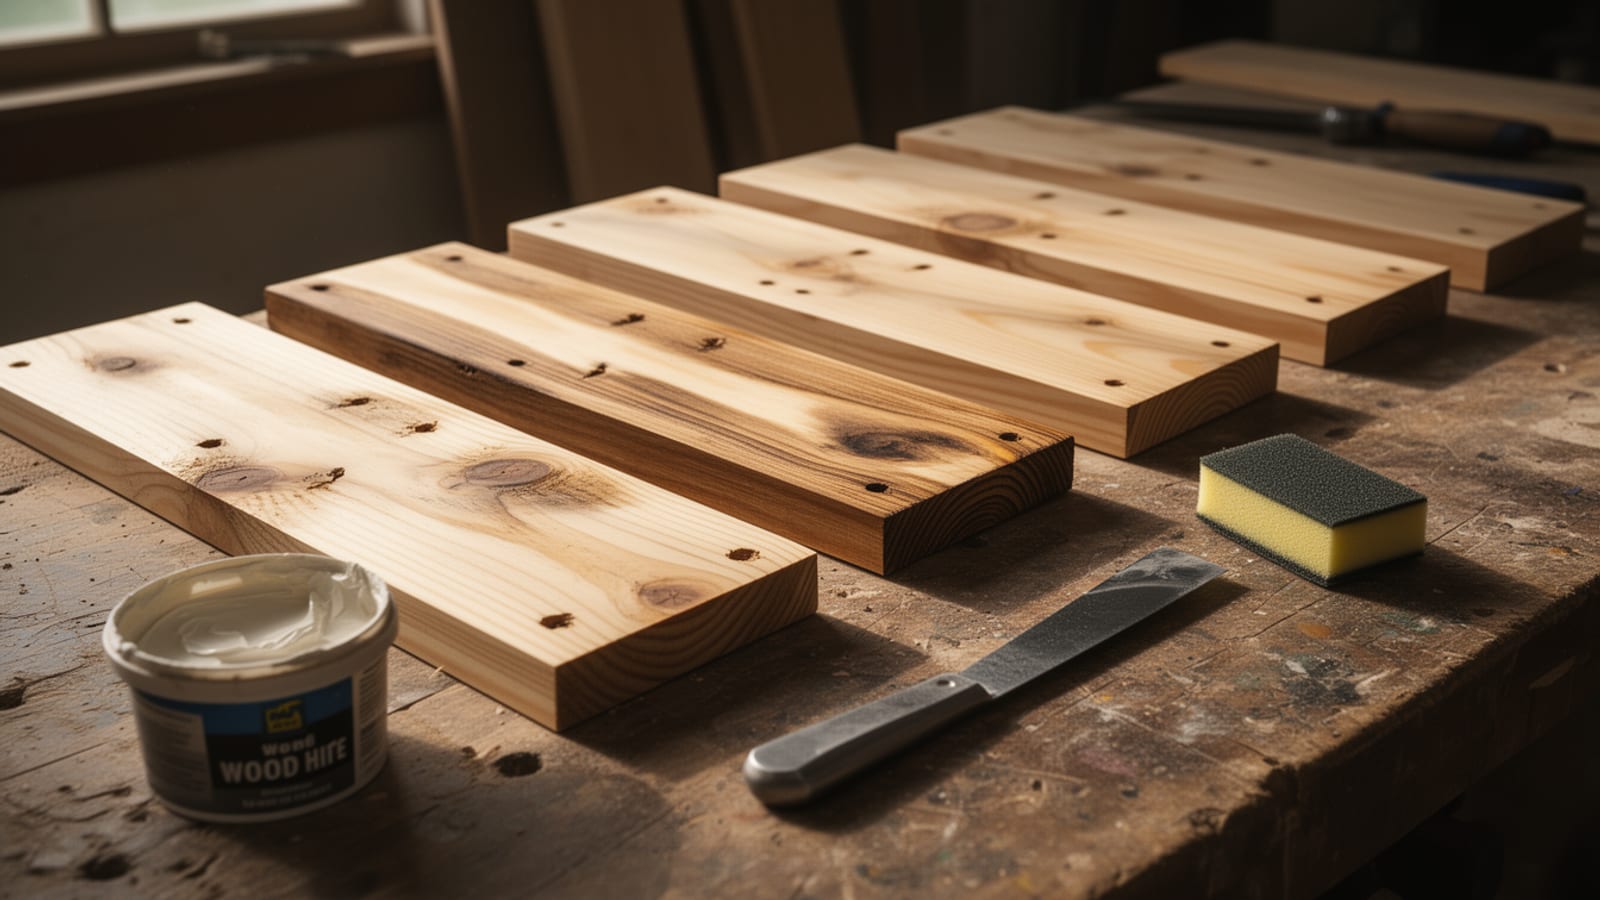
Wood Filler vs. Caulk vs. Bondo vs. Epoxy: Which One Survives Wood Movement - A step into the workshop.
Stop Wasting Wood
Generate clear cut diagrams instantly with our new Cutlist Optimizer. Plan your cuts to make your next build easier.
We've all been there. You finish a project, everything is square and sanded, and then you see it: a hairline gap at a miter, a brad hole staring back at you, a knot void that's going to swallow stain and turn black. So you reach for something out of the drawer. Maybe it's wood filler. Maybe it's caulk. Maybe it's that half-used can of Bondo from the garage shelf.
And a year later, sometimes less, it's a crack line, a dimple, or a shiny smear that won't take stain. The forums are full of "it looked great when I did it" stories with no explanation of why things went wrong. The why, it turns out, is pretty simple, and once you understand it, choosing the right gap-filler stops being a guessing game.
The Rule That Solves Most of It
A trim guide from D&G Flooring puts it in one sentence I wish I'd heard fifteen years ago: "If the gap can move, caulk it. If the surface needs to be sanded flat and invisible, fill it." That's the whole decision tree, and everything below is just detail.
Here's the mechanism behind it. Wood filler cures hard and sandable, with essentially zero flexibility. Caulk stays permanently rubbery, tools smooth with a wet finger, and can never be sanded; it tears, gums, and sheds under a sanding block. So when you put rigid filler in a joint that moves with the seasons, it cracks the first season and pops out in chunks by the third, again per D&G Flooring. And when you put rubbery caulk on the face of a board where something needs sanding, it shrinks into a dimple and leaves a raised, smeared halo that shows up plainly in raking light after painting.
I've made both mistakes. The dimple-in-the-nail-hole one is the more embarrassing, because the repair only reveals itself after the paint goes on, when it's too late to fix cleanly.
Why Wood Moves (and Why Your Patch Doesn't Care)
The Craftsman Blog's Scott Sidler explains it well: wood's former water-conducting cells still respond to moisture even in a finished board. Add humidity and the wood swells; dry winter heat and it shrinks. That's why doors stick in summer and gap in winter, and it's why a patch that's harder and stiffer than the wood around it is living on borrowed time in any joint that flexes.
Sidler makes the same point from the other direction with Bondo: caulk is too flexible to fill large gaps in wood, and Bondo is too stiff. If your repair spans two pieces that move relative to each other, neither extreme works.
One more mechanism worth knowing for exterior work: vapor drive. Moisture inside the house migrates outward through the wood, and when it hits a non-vapor-permeable patch, it pushes from behind. That's the same pressure that peels paint down to bare wood, and it's the argument against slapping rigid auto-body filler on an exterior sill.
Caulk: The Right Tool for Joints That Live
Caulk is the correct choice anywhere movement is normal and expected: baseboard-to-wall, wood-to-drywall, around doors and windows, exterior trim joints. It stretches and compresses with the seasons, which is exactly the job.
What it won't do is disappear. It can't be sanded flush, so it's wrong for nail holes and any face-of-board repair. Making Manzanita's guide to caulk versus filler makes the same call: don't use caulk for nail holes, because you'll never sand it level.
Watch the gap size, too. D&G Flooring notes that a gap over about 3/8 inch swallows caulk; it slumps, shrinks, and wrinkles. Their fix is cheap and clever: stuff foam backer rod into the void first and caulk only the last 1/4 inch. And avoid silicone anywhere near paintable trim, because paint won't stick to it, ever.
Cost-wise, it's the friendliest option in the drawer. A 10-oz tube of paintable caulk covers roughly 50 to 90 linear feet of hairline trim gap, and D&G Flooring figures a whole homeowner kit (filler tub, a 35-year-rated acrylic caulk, a gun, and a sanding sponge) comes in under $25. One caveat: "sandable caulk" hybrids exist, but per D&G's hands-on experience they sand worse than filler and flex worse than caulk, which is the worst of both worlds.
Wood Filler: Where the Stain Test Actually Has Data
If you're doing stain-grade work, this is the section to read twice, because most filler advice is anecdote and the Saws on Skates test is actual data. Scott there lined up seven fillers, three stains, and a pile of pine, testing everything on board joints and nail holes, sanded at 150 grit with conditioner and a 24-hour wait before staining.
The highlights:
- DAP Plastic Wood nearly disappeared under the dark Kona stain on both nail holes and joints, and matched closely on the light stain. The trade-offs: a dry, hard-to-spread texture, strong odor, but easy sanding by hand.
- FamoWood Latex was the best performer on the coffee stain but went noticeably lighter than surrounding wood under the light stain. Smooth spreading, easy sanding.
- Minwax Stainable Wood Filler matched decently on all three stains, but it shrank the most of all seven fillers, was among the hardest to sand (Scott needed a random-orbit sander), dried orange, and stained the surrounding wood lighter wherever it overspread. Keep it strictly inside the hole and plan on a second coat.
- The shop-made mixes were interesting: sawdust plus shellac came third overall, while glue plus sawdust lost to the commercial winners.
The shrinkage point matters more than people expect. Overfill slightly, fill deep holes in layers, and use a metal putty knife, which works better than the flexible plastic ones. Drying across all seven fillers ran 15 minutes to 2 hours for thin repairs and 2 to 6 hours for deep fills, and you'll want to wait 12 to 24 hours before an oil-based finish.
But here's the honest wrinkle: "stainable" is, in D&G Flooring's words, the most optimistic word in the hardware store, and their rule is to test on scrap first. Independent forum reports from 2004 on HomeOwnersHub and 2006 on Houzz both document Minwax Stainable Wood Filler rejecting stain in real projects. Meanwhile Bob Vila's tested round-up ranks the same product first among general fillers. So treat which filler stains best as genuinely contested, and take the one piece of advice the sources do share, from D&G: test on scrap first. It costs you ten minutes and saves you a project.
Bondo and Epoxy: Rigid Rebuilds and Moving Cracks
The evidence on Bondo goes both ways. The case against, from the Craftsman Blog: auto-body filler is engineered for a rigid steel chassis, can't follow wood's movement, and isn't vapor-permeable, so on exteriors it eventually cracks and lets water in behind it. Sidler's own example patch failed in two weeks. The case for: his comment section includes a reader whose Bondo deck repair, sealed under paint, has lasted 28 years, and another reporting a ten-year-old exterior sill repair.
I can't adjudicate that from here, because I found no controlled multi-season comparison in my research, and I won't pretend otherwise. What the sources do agree on is the distinction that makes it work: rigid fills belong on rigid, non-moving surfaces, especially painted ones. D&G Flooring calls two-part polyester and epoxy fillers like Bondo Wood Filler and Abatron WoodEpox ($15 to $40) the only correct choice for exterior structural rebuilds such as a rotted sill corner or a chewed-up door jamb bottom. And note that's Bondo Wood Filler, a different product from automotive Bondo. Don't conflate them, and don't ever caulk over rot; caulk just hides spreading decay.
For cracks that genuinely flex, epoxy has a real answer with real numbers behind it. WEST SYSTEM's technical team, writing in Epoxyworks, tested their standard 105 resin: about 11,000 psi in compression and 7,000 in tension, but only about 4% tensile elongation when cured at 72°F for two weeks. Their G/flex formula flips the priorities: roughly 30% elongation at around 3,400 psi tensile, and it bonds harder to difficult substrates (2,400 psi on 80-grit-sanded stainless versus 1,000 for the 105). That flexibility is the point; G/flex is formulated to endure movement before failure, which is exactly what a seasonal crack needs.
Two practical notes if you go that route. G/flex is cloudy caramel, not clear, so it's not an invisible fill on show surfaces. And on vertical faces it needs 406 Colloidal Silica mixed in to keep it from sagging. One thing I genuinely don't know: whether sanded epoxy takes stain like wood. I haven't seen reliable data either way, so test it or plan to paint.
The Order That Saves the Finish
Before you grab a tube, a quick job-by-job gut check: nail holes and gouges get filler; baseboard-to-wall and wood-to-drywall get caulk; a casing miter gets caulk if it's hairline and filler only if it's glued and pinned solid, and D&G's test is simple, if you can flex the joint, caulk it. Wide gaps get backer rod plus caulk, or a scribe.
Then work in the right order: fill and sand first, at 180 grit, then caulk, then spot-prime the fills before painting. Sanding after caulking shreds fresh beads, and unprimed filler flashes dull right through your finish coat. Acrylic caulk skins in 30 to 60 minutes and is paintable within about 2 hours, so the sequencing is forgiving if you plan it.
My honest takeaway after living with these failures: most gap-filler disasters are a material-choice problem, not a skill problem. Match the filler's flexibility to the joint's movement, test every stainable product on scrap, and seal your rigid exterior repairs under paint. That's the whole game.